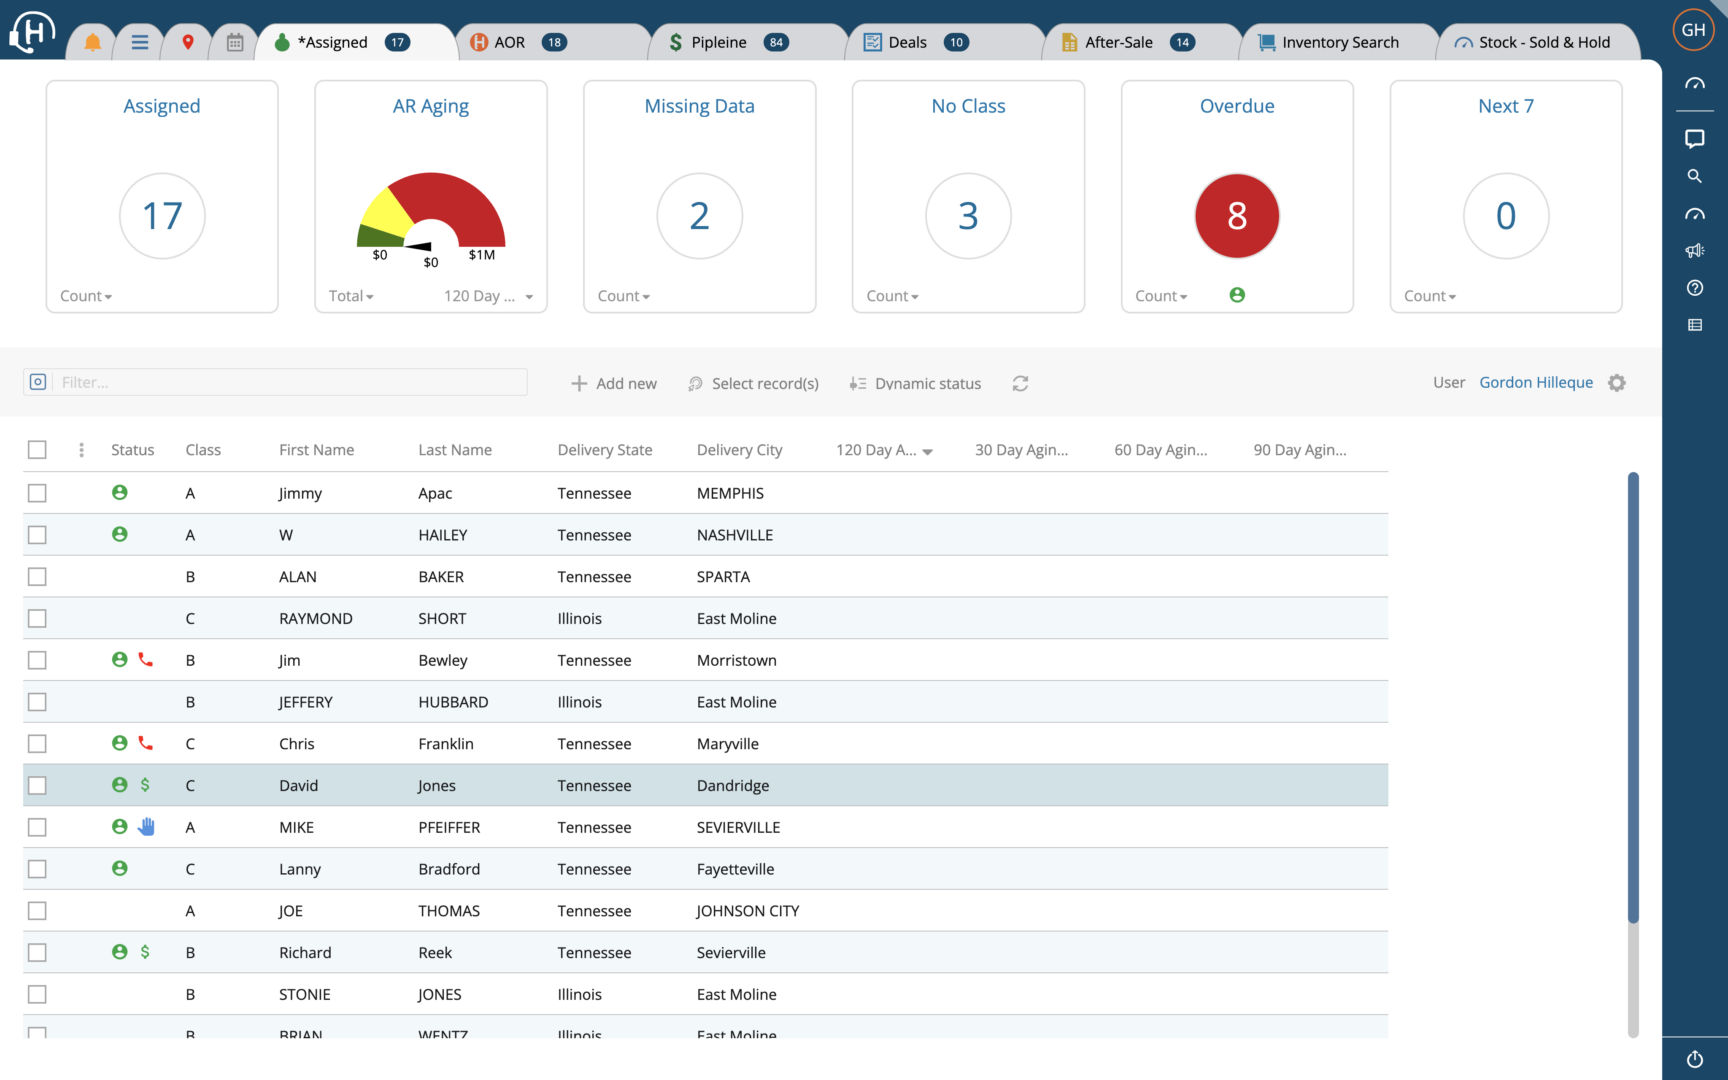
Texada Software is thrilled to welcome CustomerTRAX to Texada! With the CustomerTrax and Texada merger, we look forward to further extending our 35 years plus service to the heavy equipment industry. The Texada platform serves many of the industry’s leading equipment dealers and rental houses around the world, and we are elated to enhance our commitment to the space. Please contact us to speak with a Texada expert.
With actionable intelligence that unlocks customer opportunities and delivers operational excellence, Texada will bring your business to the next level.

Keep service records for your equipment, generate estimates for servicing customer equipment, schedule routine maintenance, and more.
Lorem ipsum dolor sit amet, consectetur adipiscing elit. Ut elit tellus, luctus nec ullamcorper mattis, pulvinar dapibus leo.
Lorem ipsum dolor sit amet, consectetur adipiscing elit. Ut elit tellus, luctus nec ullamcorper mattis, pulvinar dapibus leo.
Lorem ipsum dolor sit amet, consectetur adipiscing elit. Ut elit tellus, luctus nec ullamcorper mattis, pulvinar dapibus leo.
Lorem ipsum dolor sit amet, consectetur adipiscing elit. Ut elit tellus, luctus nec ullamcorper mattis, pulvinar dapibus leo.
Lorem ipsum dolor sit amet, consectetur adipiscing elit. Ut elit tellus, luctus nec ullamcorper mattis, pulvinar dapibus leo.
Lorem ipsum dolor sit amet, consectetur adipiscing elit. Ut elit tellus, luctus nec ullamcorper mattis, pulvinar dapibus leo.
(service, parts, logistics)
Lorem ipsum dolor sit amet, consectetur adipiscing elit. Ut elit tellus, luctus nec ullamcorper mattis, pulvinar dapibus leo.
Lorem ipsum dolor sit amet, consectetur adipiscing elit. Ut elit tellus, luctus nec ullamcorper mattis, pulvinar dapibus leo.
Lorem ipsum dolor sit amet, consectetur adipiscing elit. Ut elit tellus, luctus nec ullamcorper mattis, pulvinar dapibus leo.
“[Texada] is very user friendly and they are able to customize reports as needed to suit our business needs. Support always responds very quickly to train or resolve issues. Great product!”
Rachel F.
Accountant, Construction,
51-200 employees
“Everybody at Texada seemed to be just as dedicated as we were to making sure that we get transitioned over with as minimal hassle as possible. We don’t have to worry about our server going down. All our data is safe on redundantly backed up servers and we have had zero interruption.”
Curtis Nickason
Systems Administrator, Trowelex


Contact
North America: 1 (800) 361-1233
Australia: 1 9800) 304-926
New Zealand: 0508-589-101
Legal
US/CA: Privacy Policy
AU/NZ: Privacy Policy
[1] Capterra Reviews
Capterra reviews constitute the subjective opinions of individual end users based on their own experiences and do not represent the views of Capterra or its affiliates. Reviews have been edited to account for errors and readability.